SkyCam
PROLOGUE
Let’s get started!
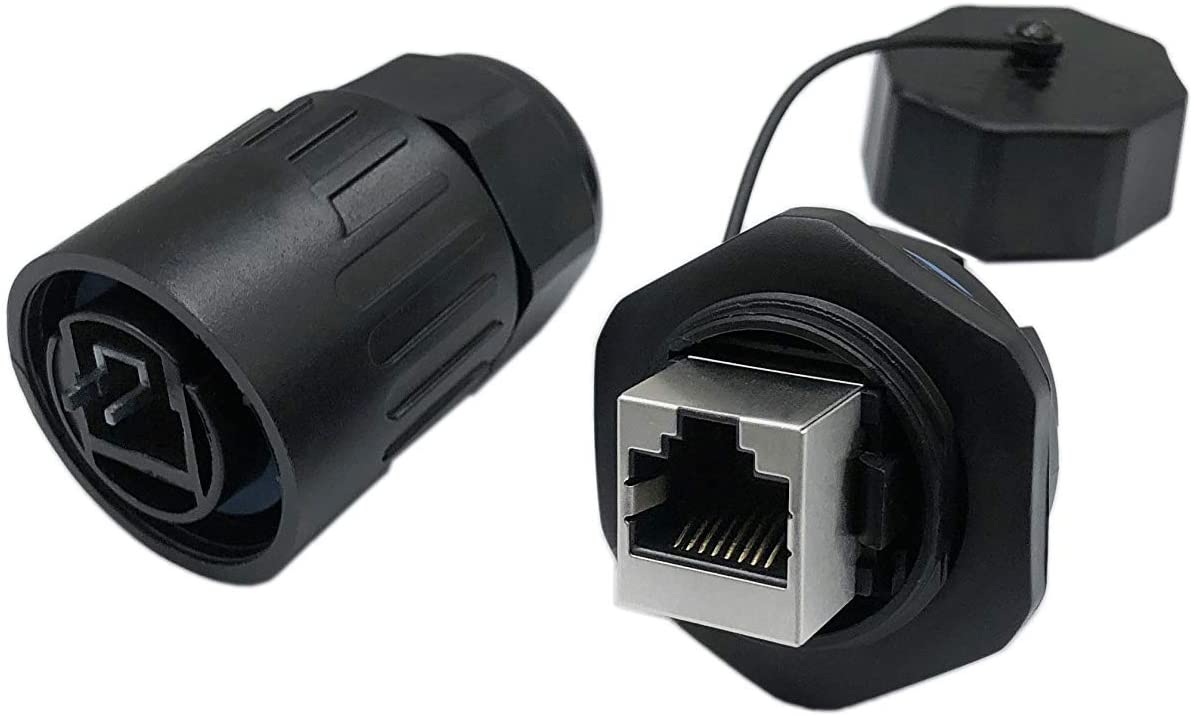
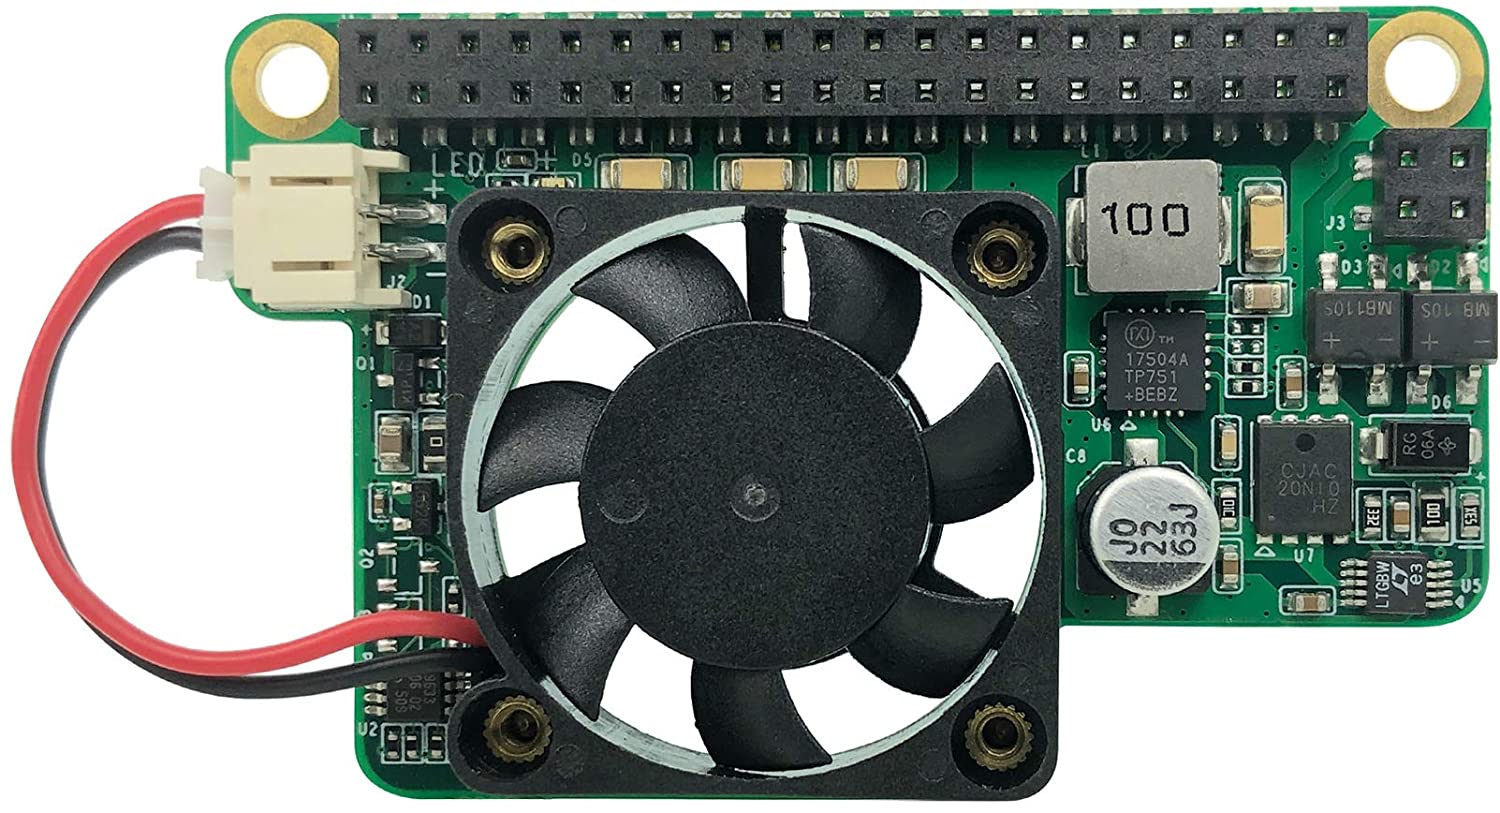
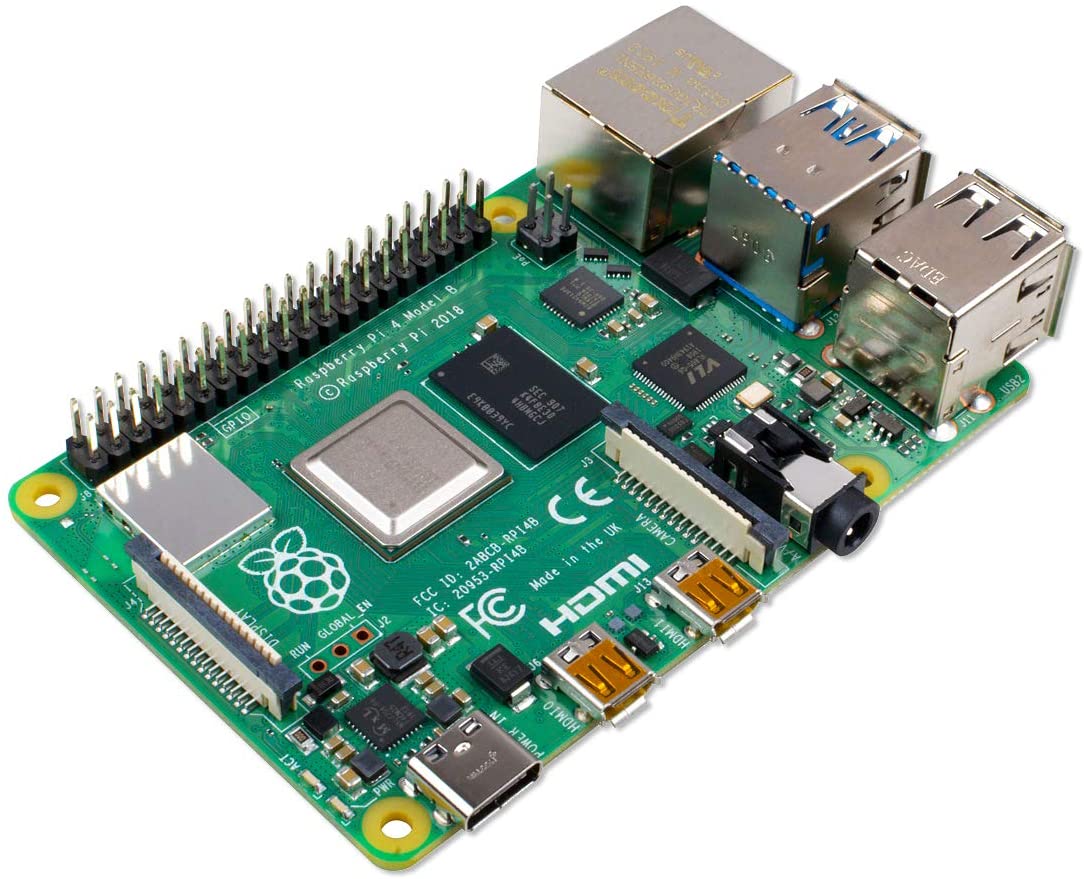
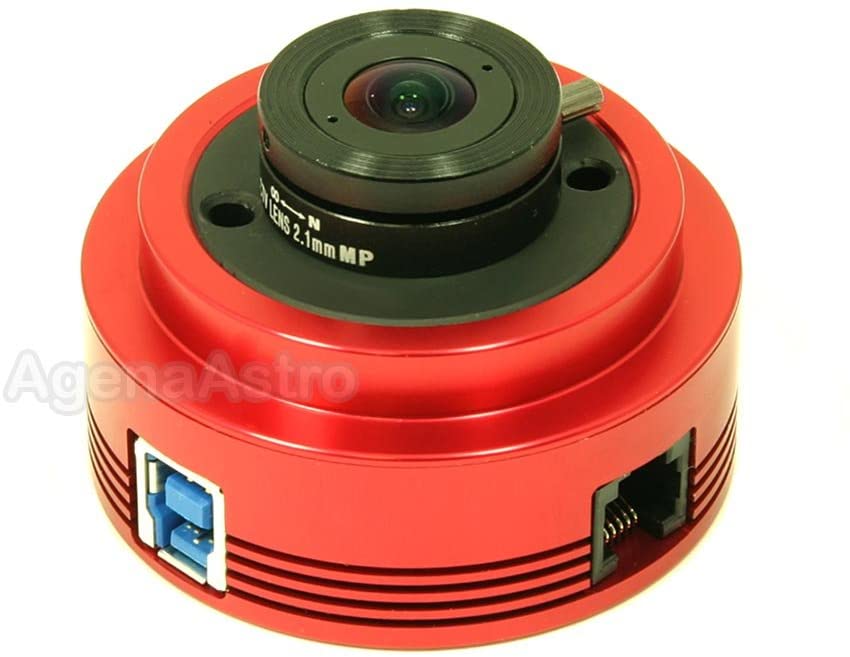
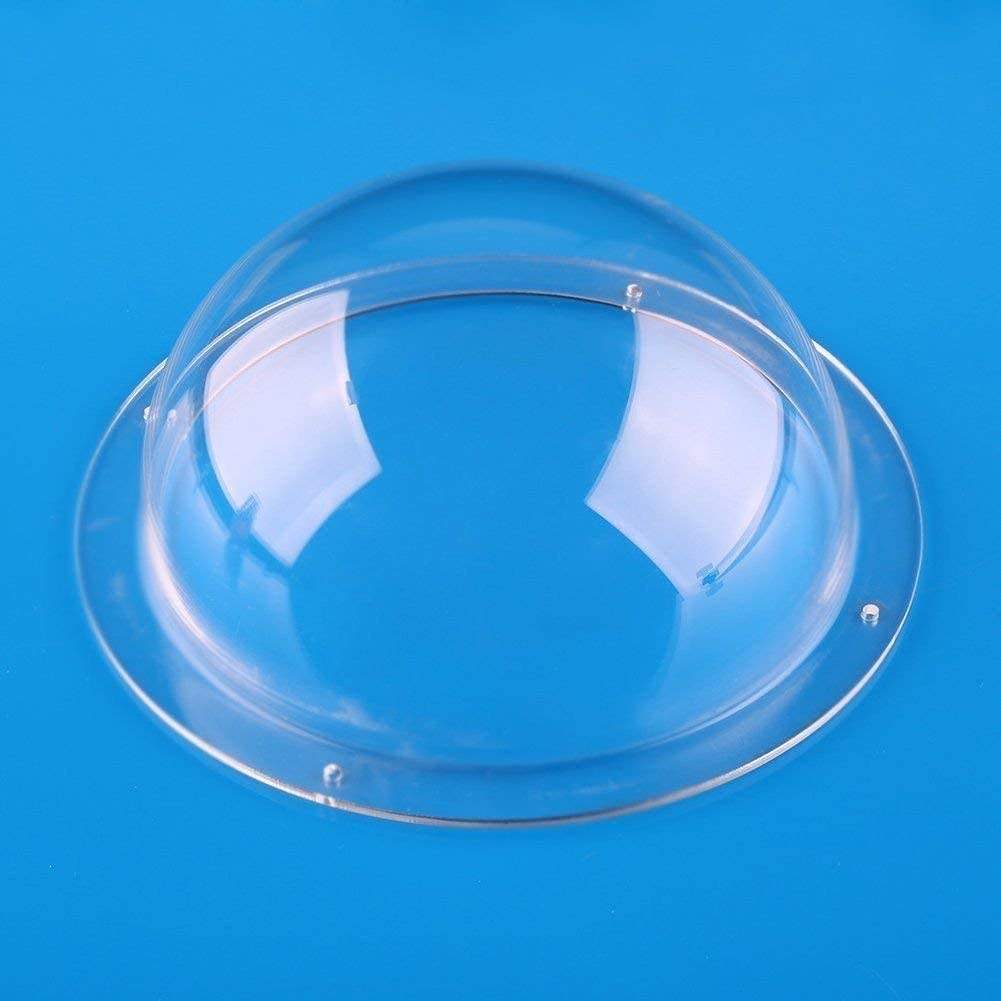
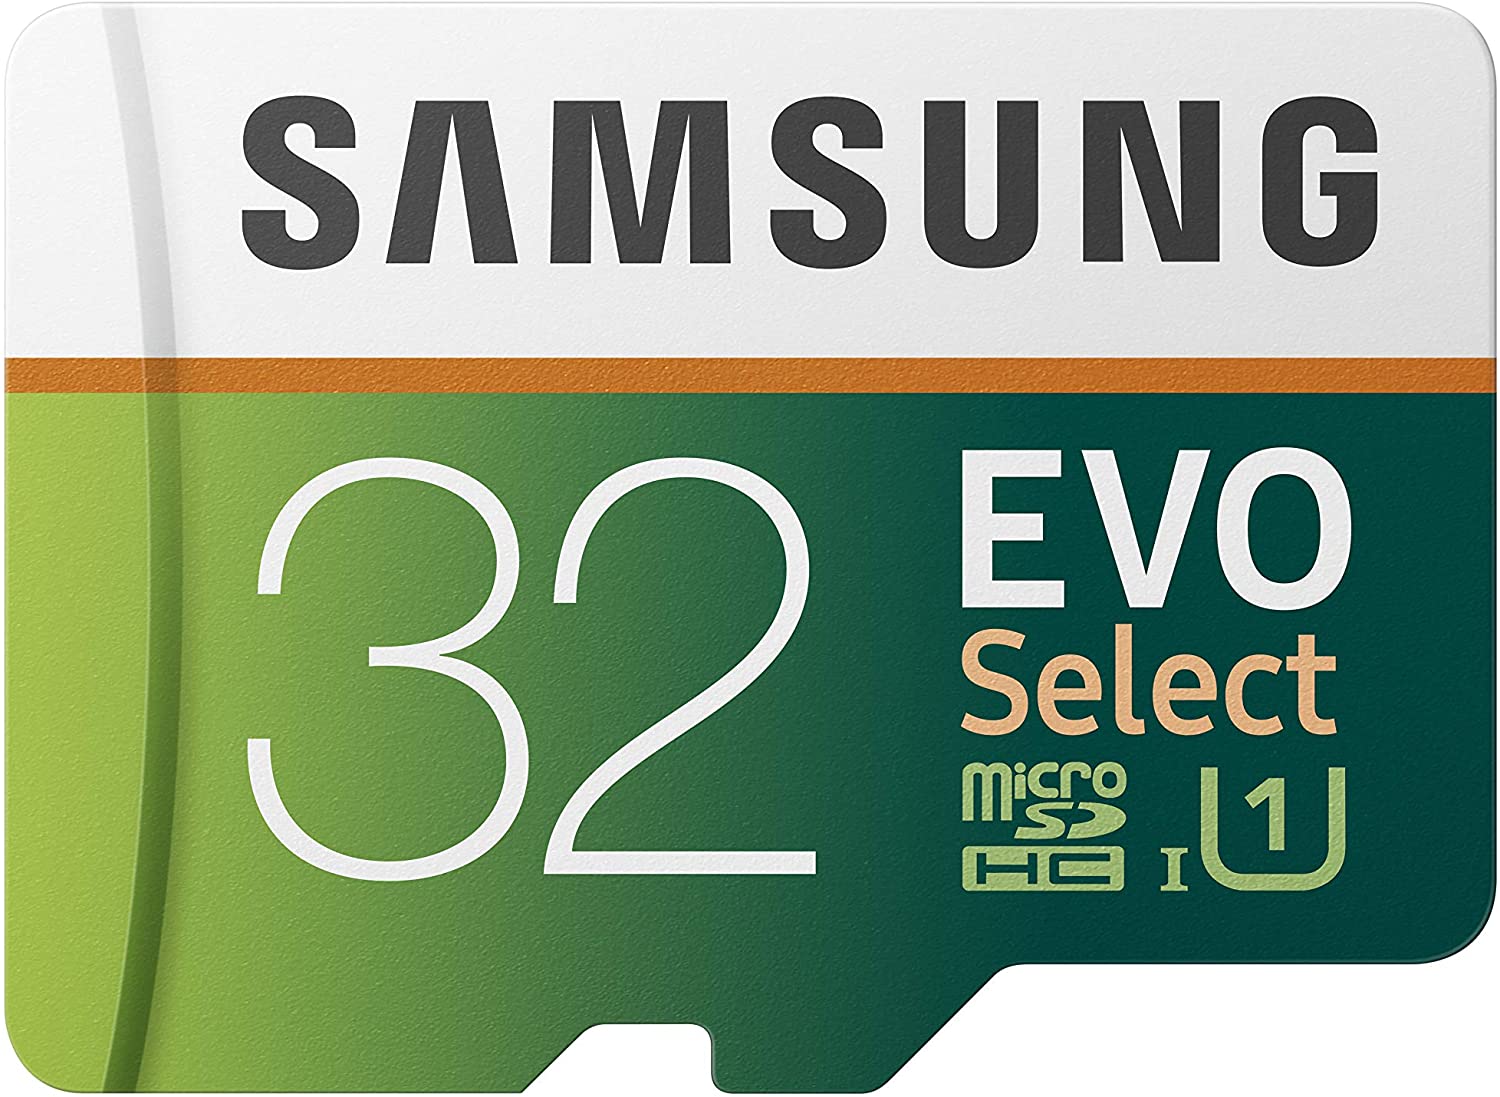
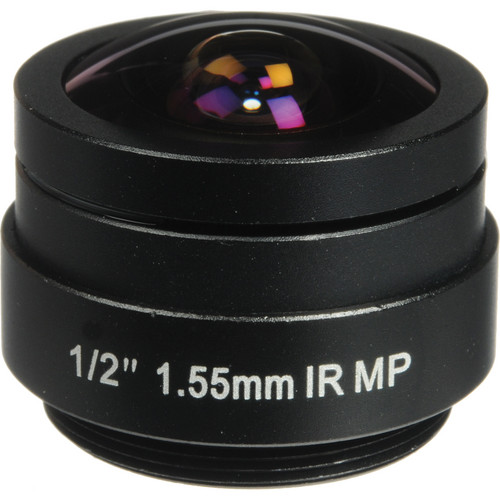
42849 17417 526972 23321 23411 294919 256099 https://www.amazon.com/gp/product/B07D49D4FF https://www.amazon.com/gp/product/B08ZCN7W94 https://www.amazon.com/gp/product/B07TC2BK1X https://www.amazon.com/gp/product/B0781WDZ1Y https://www.amazon.com/gp/product/B08DY5F58S https://www.amazon.com/gp/product/B06XWN9Q99 https://www.bhphotovideo.com/c/product/872528-REG/Arecont_Vision_mpl1_55_1_55Mm_1_2_F2_0_Fixed.html https://www.l-com.com/usb-usb-30-right-angle-cable-assembly-down-angle-b-straight-a-connectors-03-meters Step 1: Setup the Raspi You’ll need to setup a headless Raspi and do the normal setup steps of
#update the sucker
sudo apt-get update
sudo apt-get upgrade
sudo apt dist-upgrade
sudo rebootdownload and 3D print my STL’s so that a raspberry pi can comfortably fit within the 4 inch tube.